

A prerelease of the map is now available for download.
See: Release page
---------------------------
Descent 1 Level Recreation in Unreal 2004
I’m not sure exactly where this should go, so I apologize in advance if it’s the wrong spot.
I am nearing the completion of an unreal tournament 2004 level that is a recreation of level 1 from descent 1.
The map is currently playable on foot, as it has several lifts and such, though I’m also using this map to test a descent-like 6dof mod I’m creating for ut2004 that should ultimately be usable in any map.
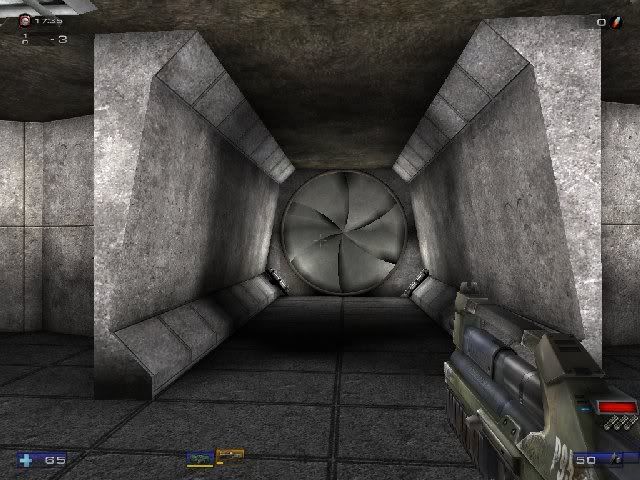
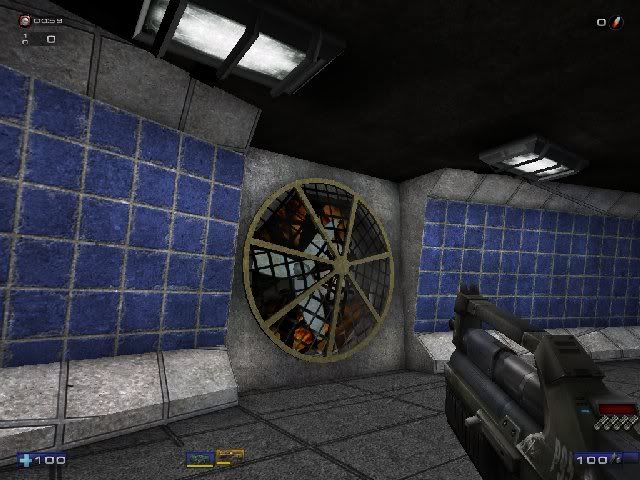
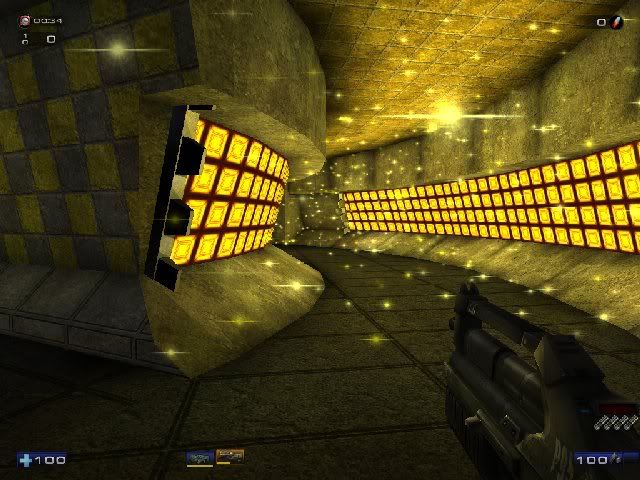
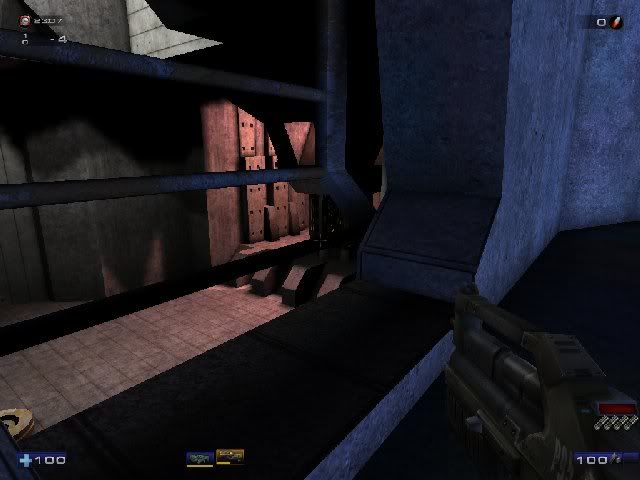
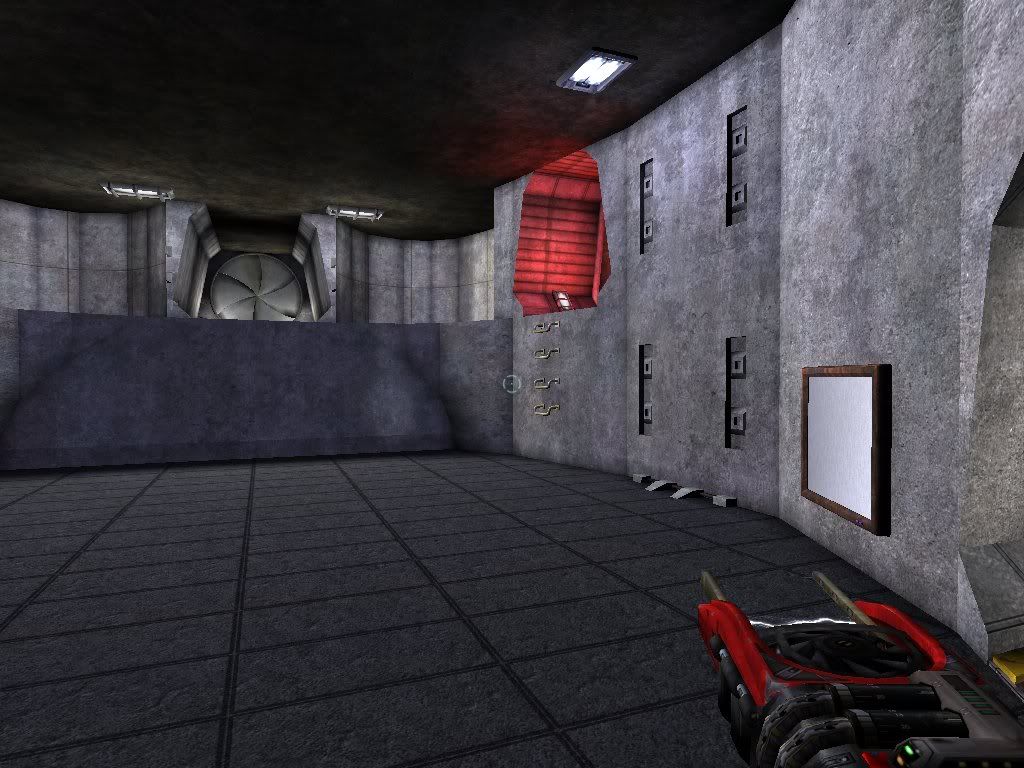
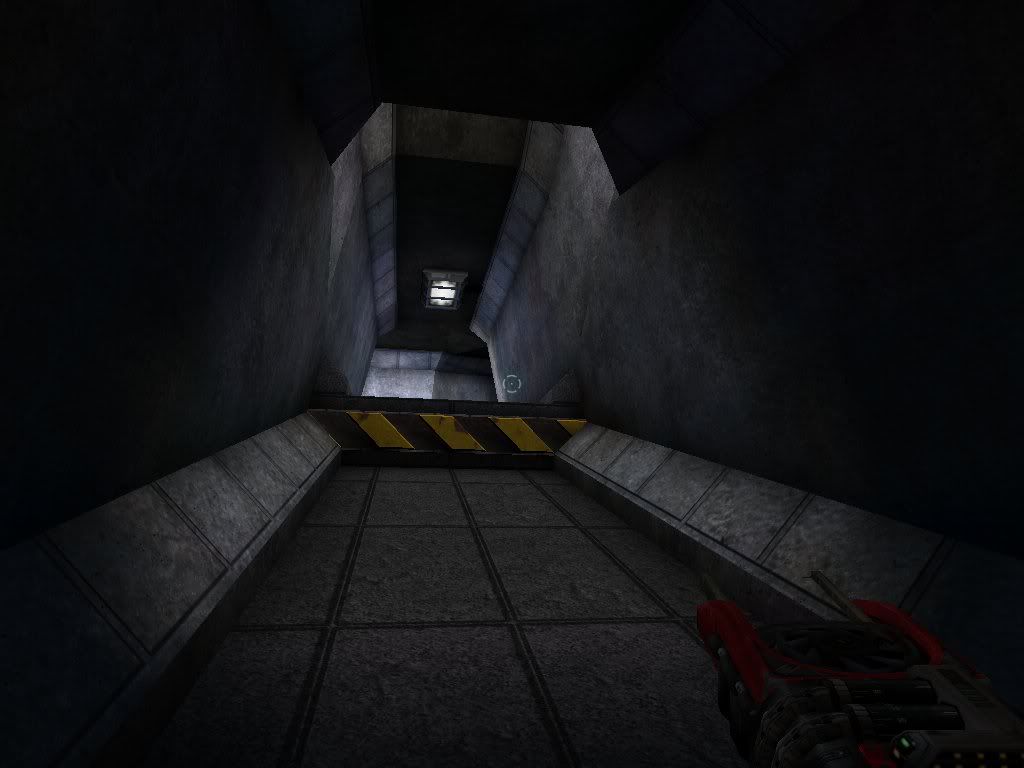
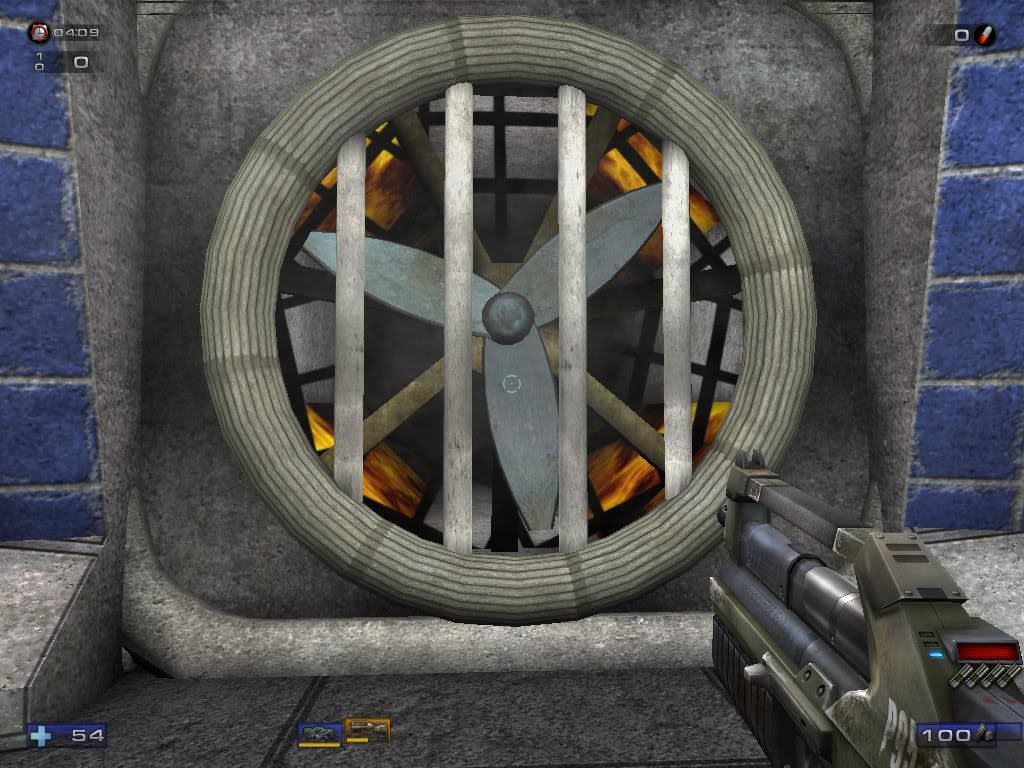
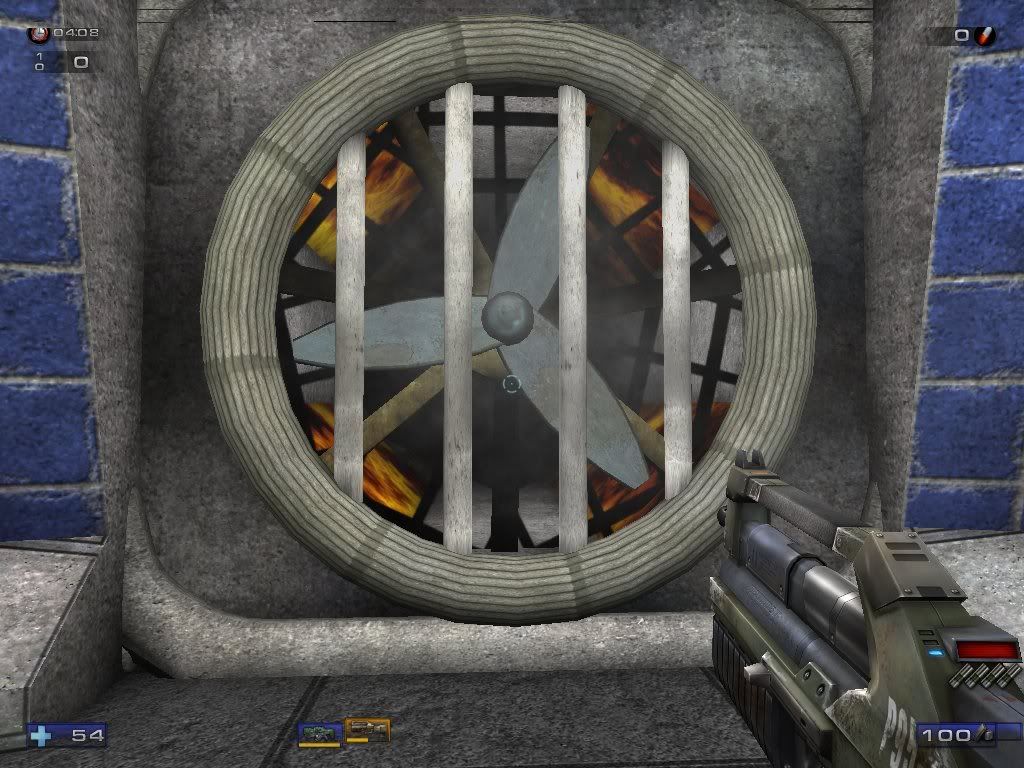
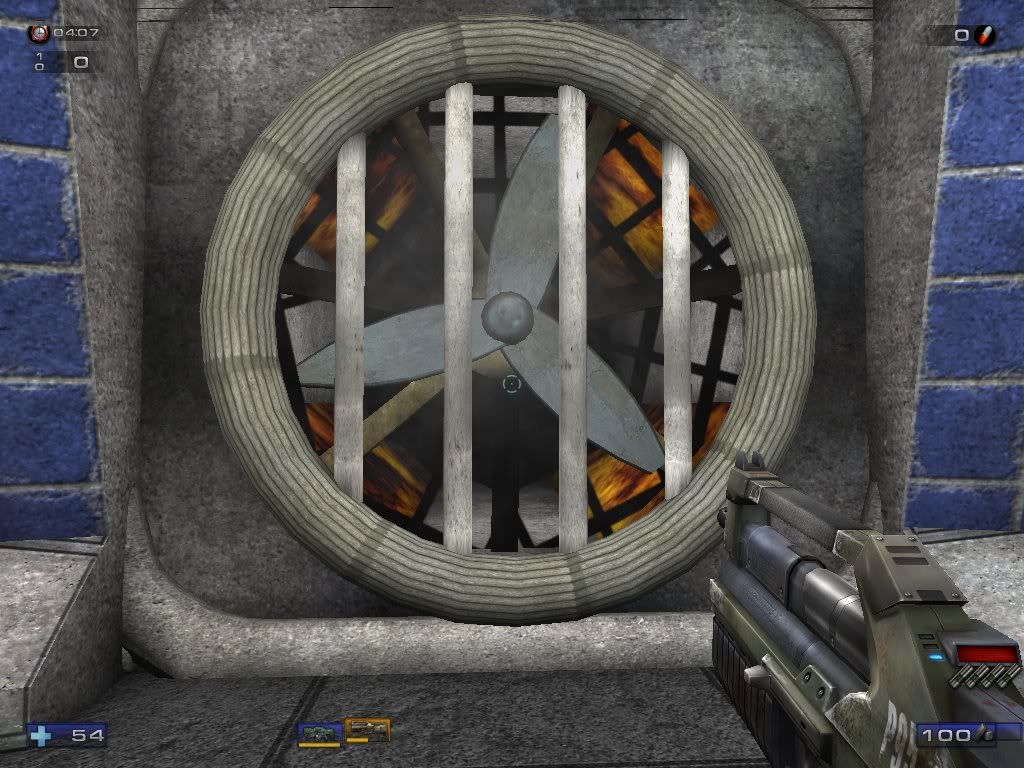
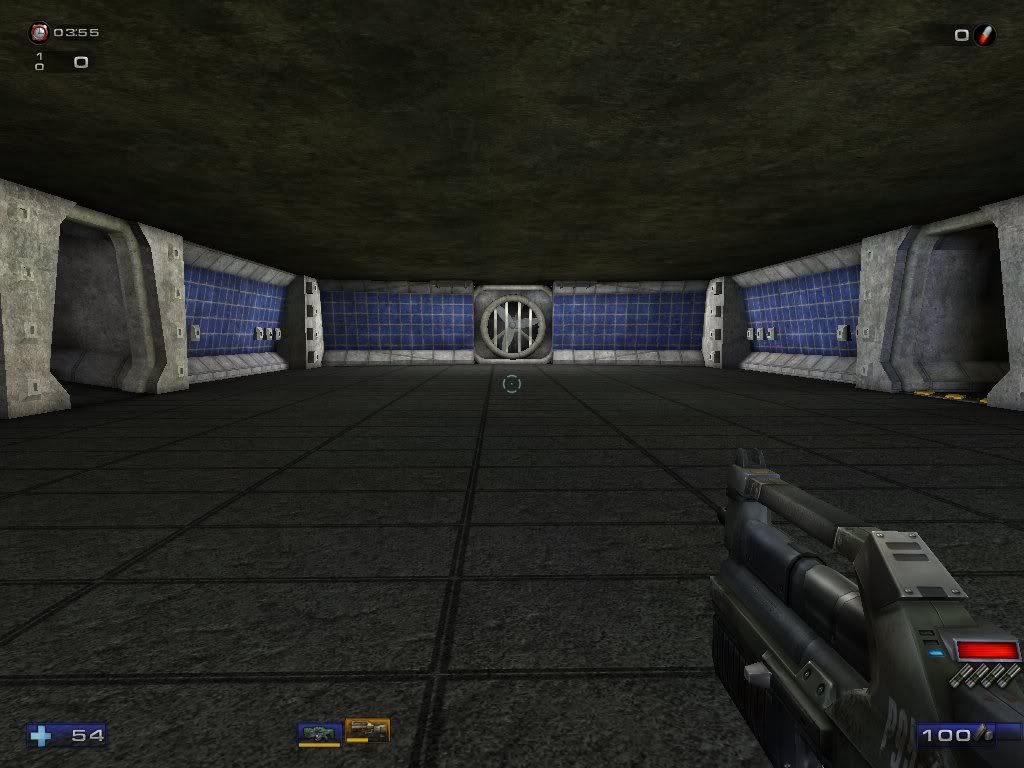
I built several static meshes for this level including the Caution Strip Bars (see image 20,21), and the fan (see image 9).
I plan to build quite a few more.
I’m also working rebuilding the original pyro, and a new pyro for the mod. The new pyro models will also eventually be used in Descent 3 GroupC, the Descent3 table mod I have already released. (of course because GroupC is a Descent 3 mod, I will use less poly intensive models. But they will still be about 5 to 10 times the normal ship poly count.)
Anyway, I’ve thinking of recreating some of the descent levels for a long time, and now having nearly completed level 1, I’m glad I did because it’s pretty cool be able to walk around a descent 1 level in high detail. I use a lot of BSP rather than just going to crazy with static meshes because I wanted the level to retain the feel of the original.
Bellow are the images of the map. Enjoy...
UPDATE:
Note: There are more recent images lower down in my later replies.
The images:
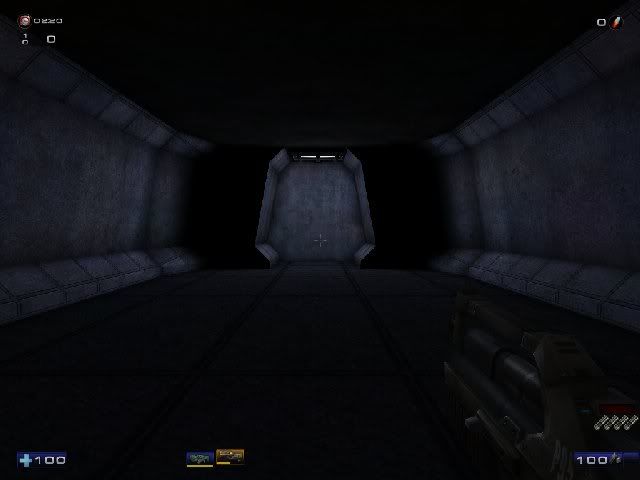
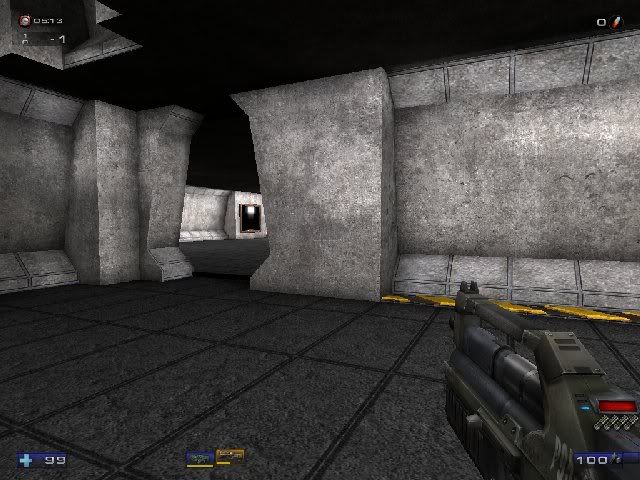
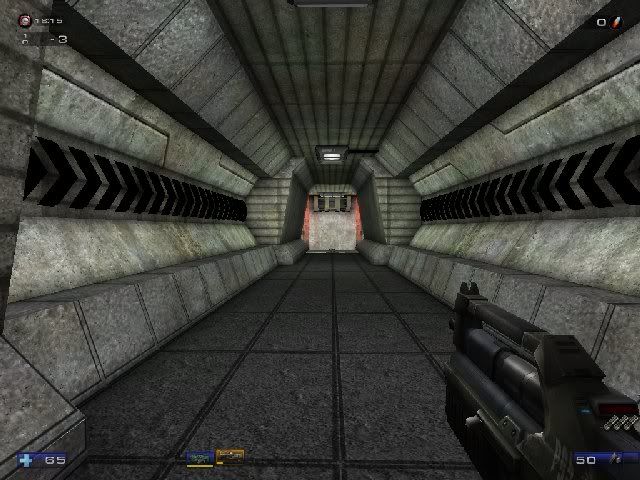
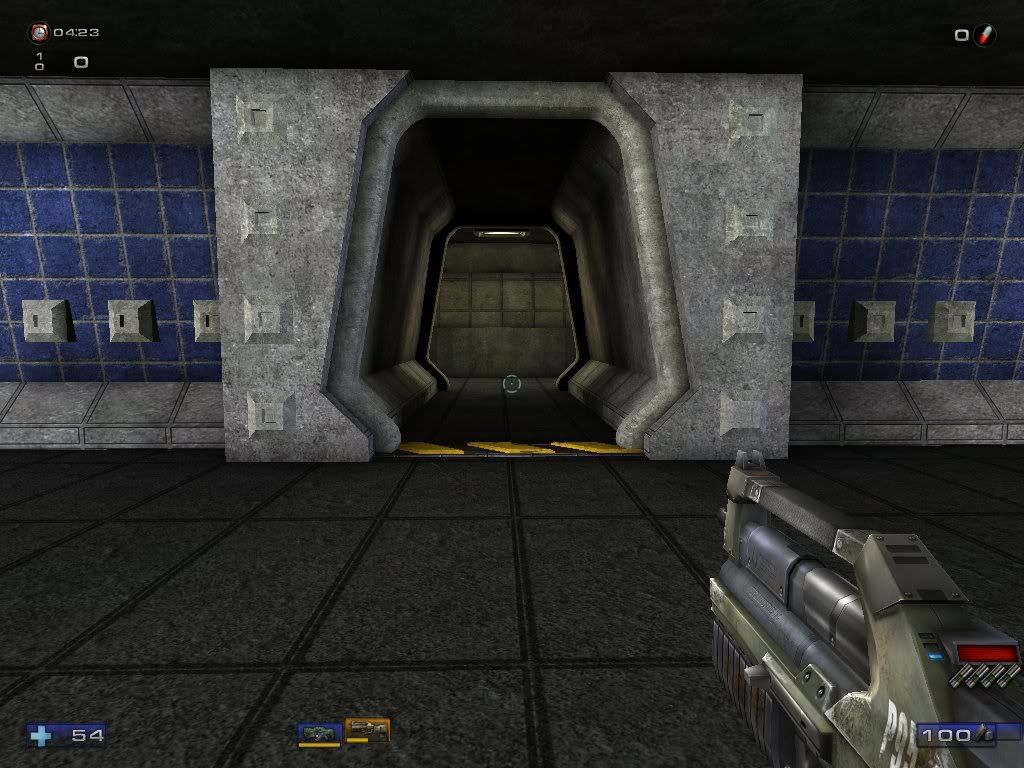
1: Starting room entrance door
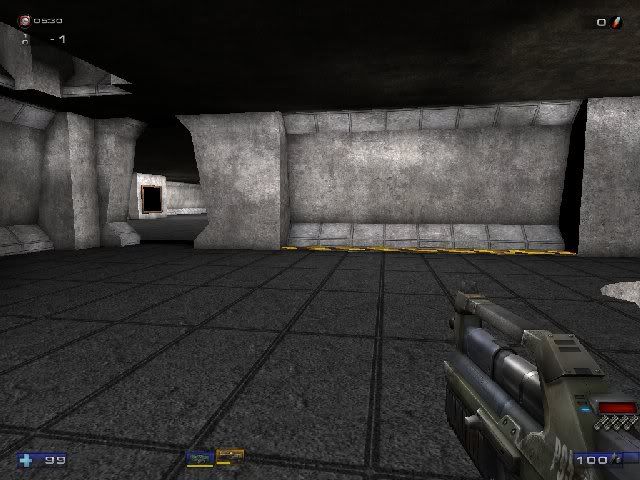
2: Starting room looking out
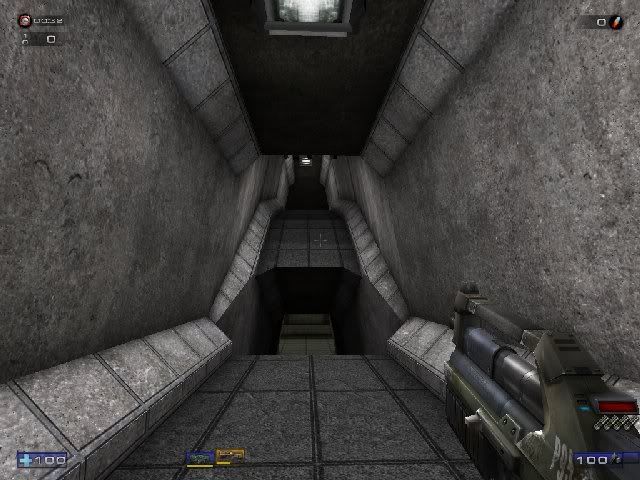
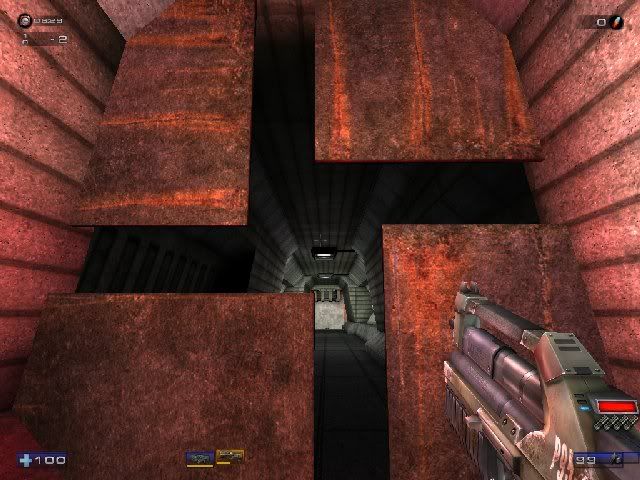
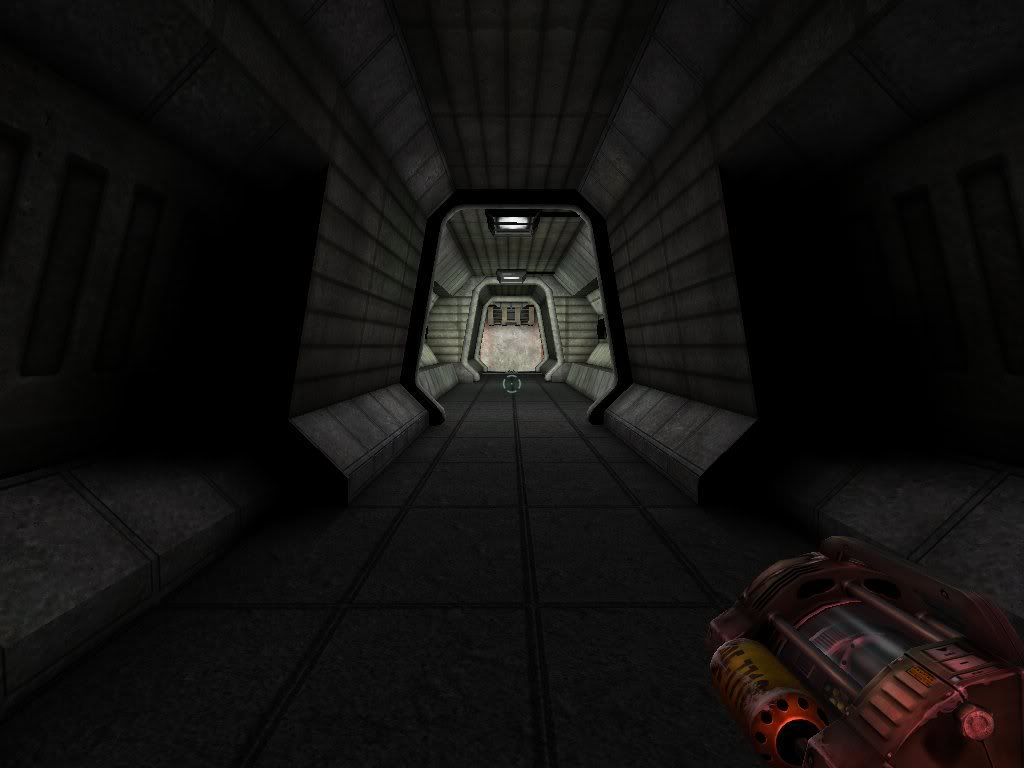
3: Vertical split Corridor entrance
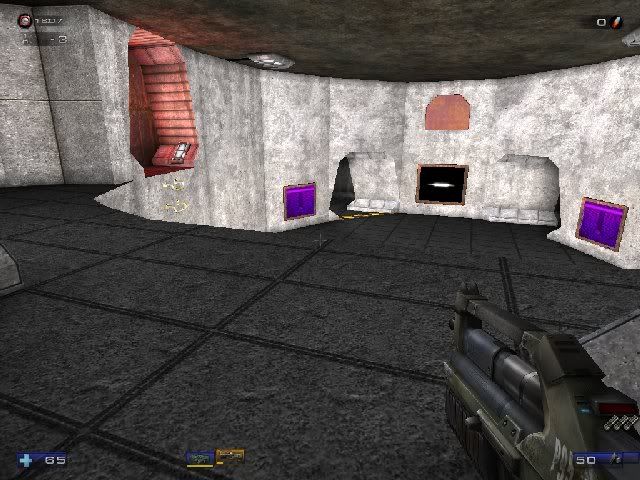
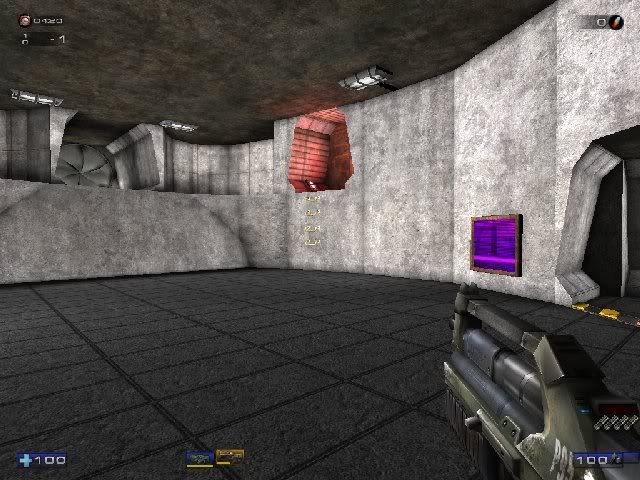
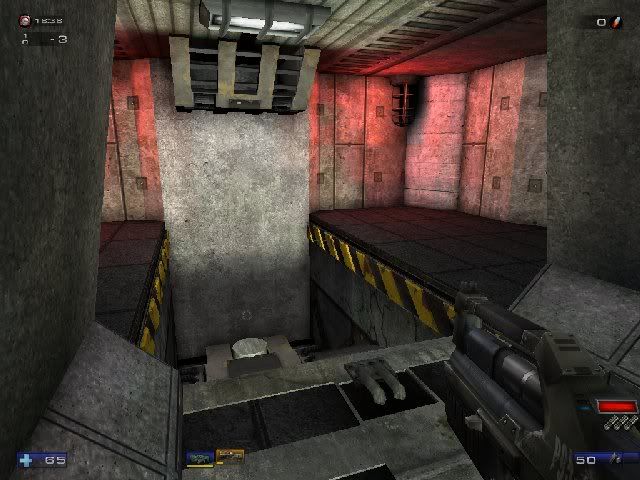
4: Red key room
5: Red Key room bottom
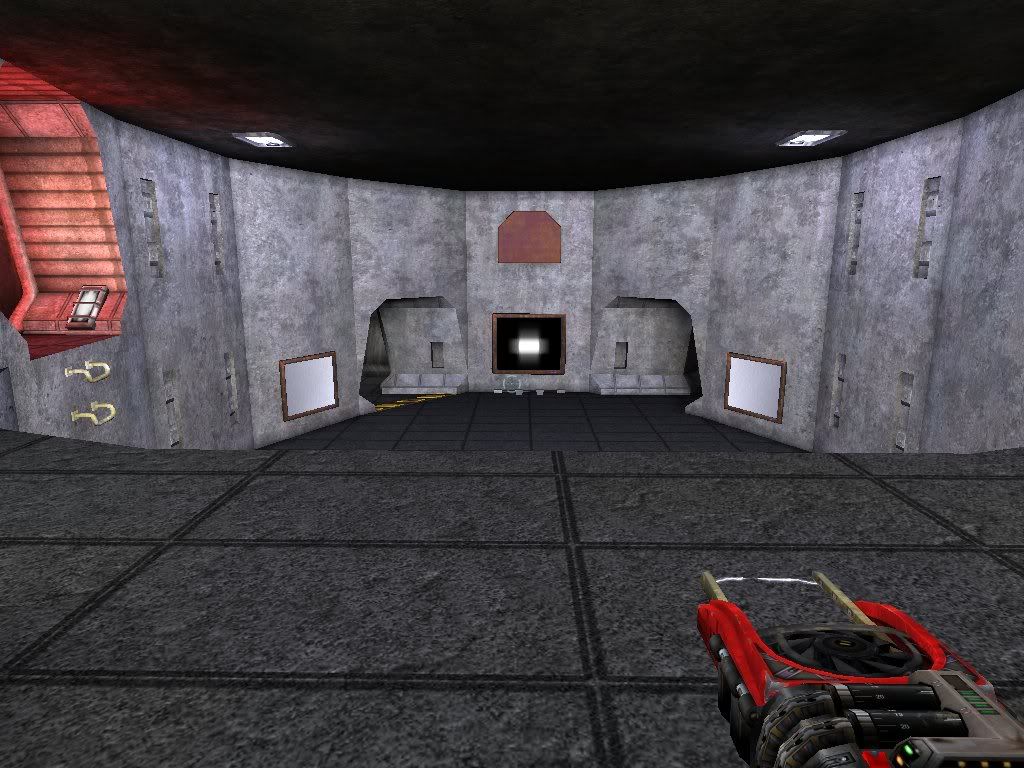
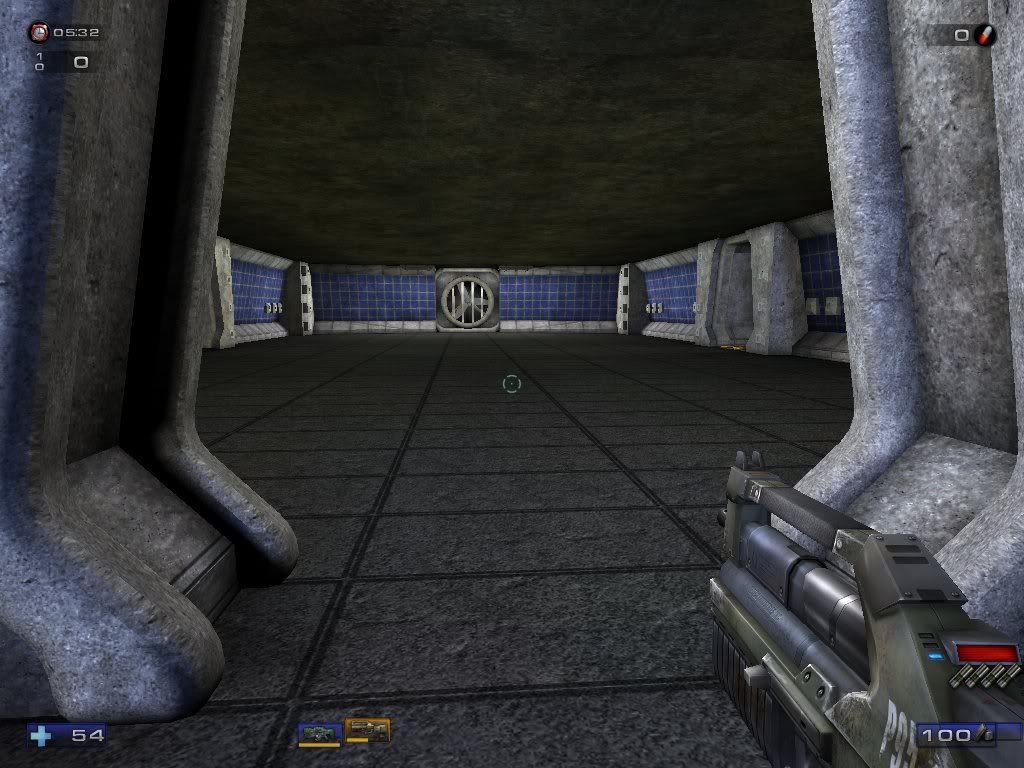
6: Vulcan room
7: Vertical split Corridor return

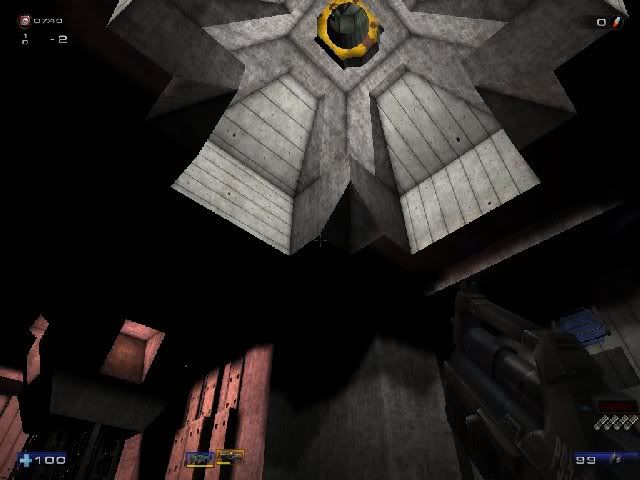
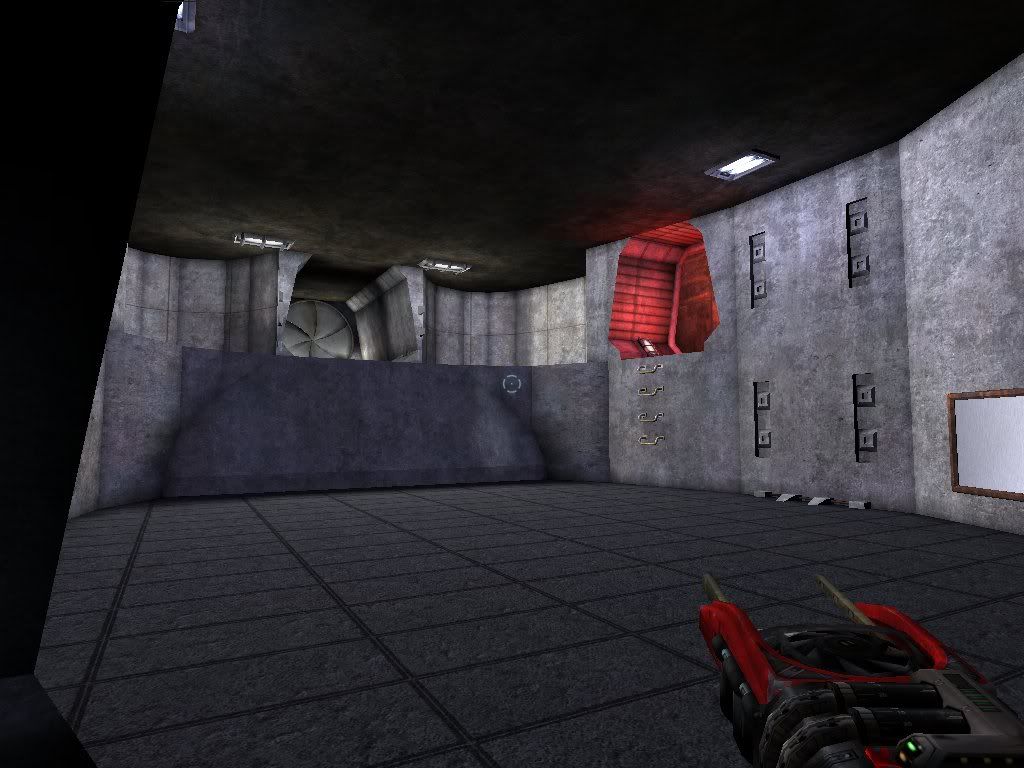
8: The fan room
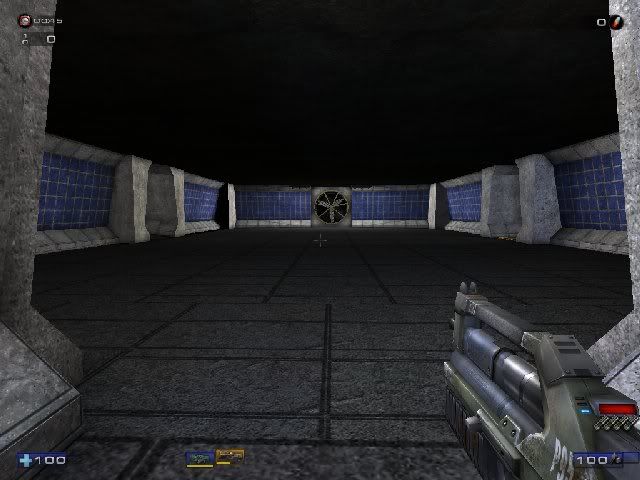
9: The fan room's fan
10: Energy Center
11: Starting room looking back
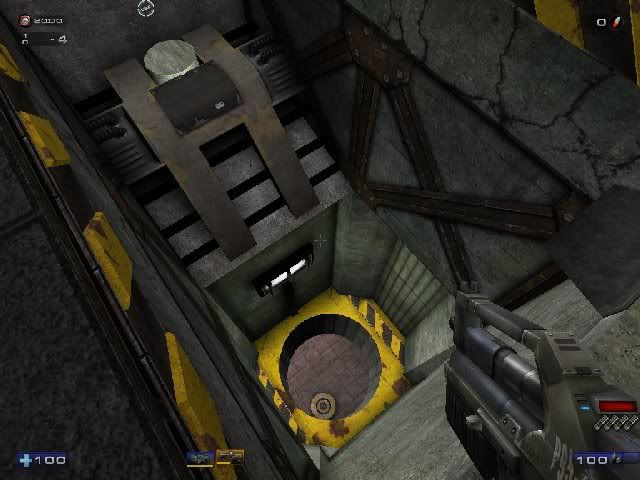
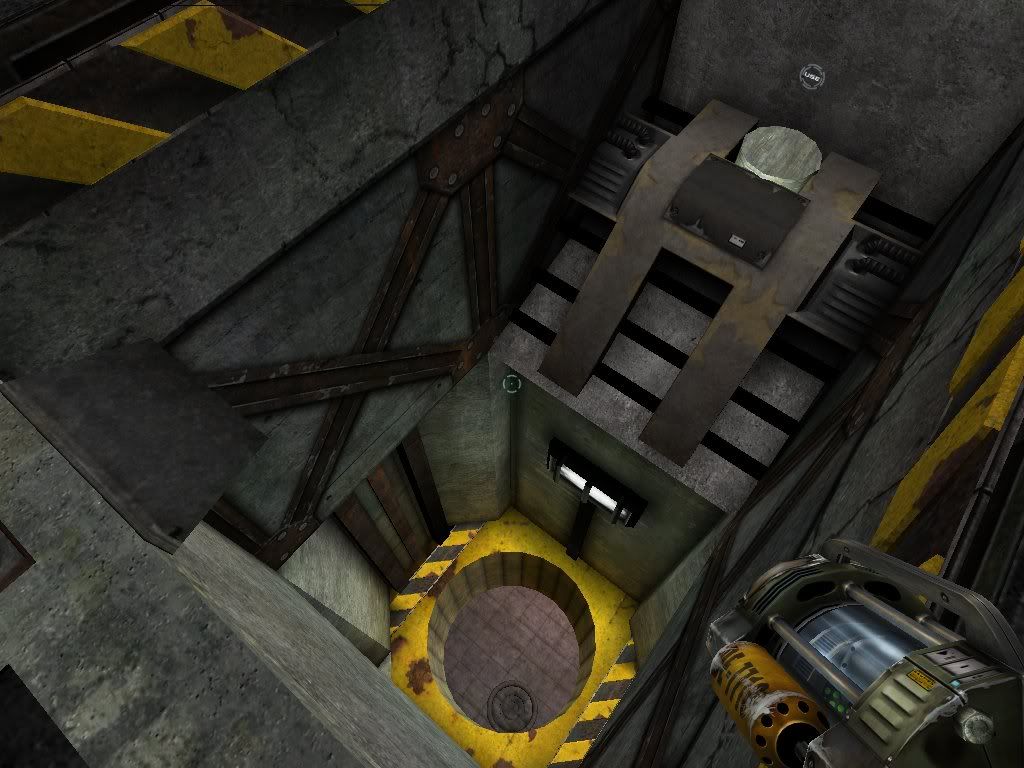
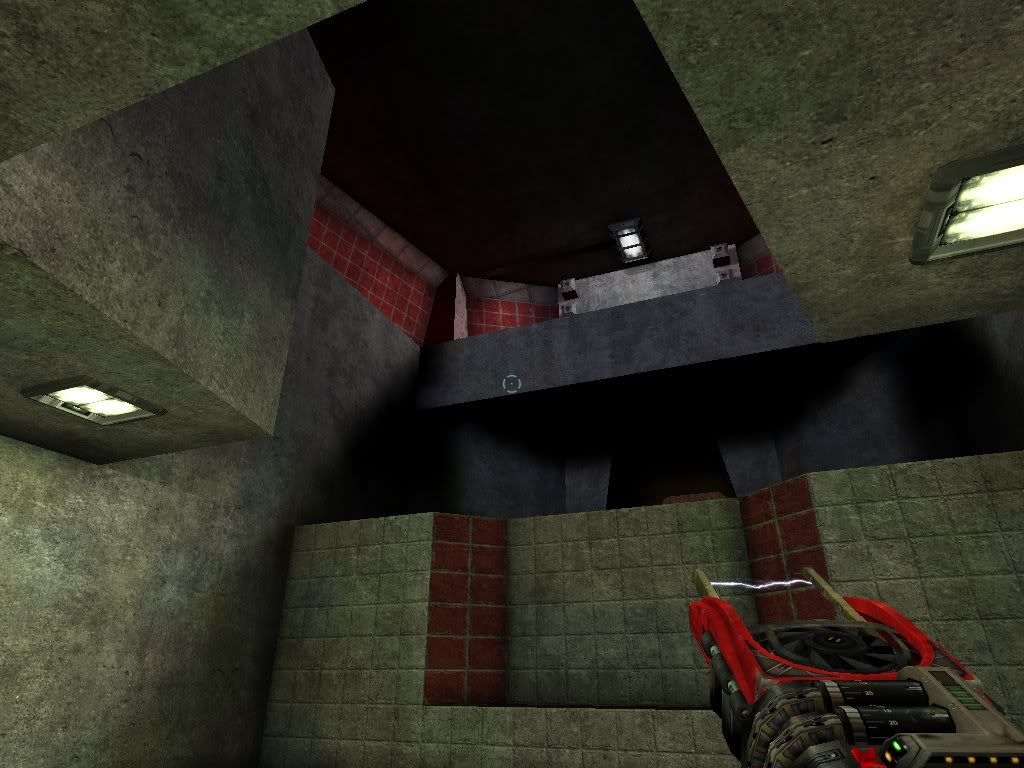
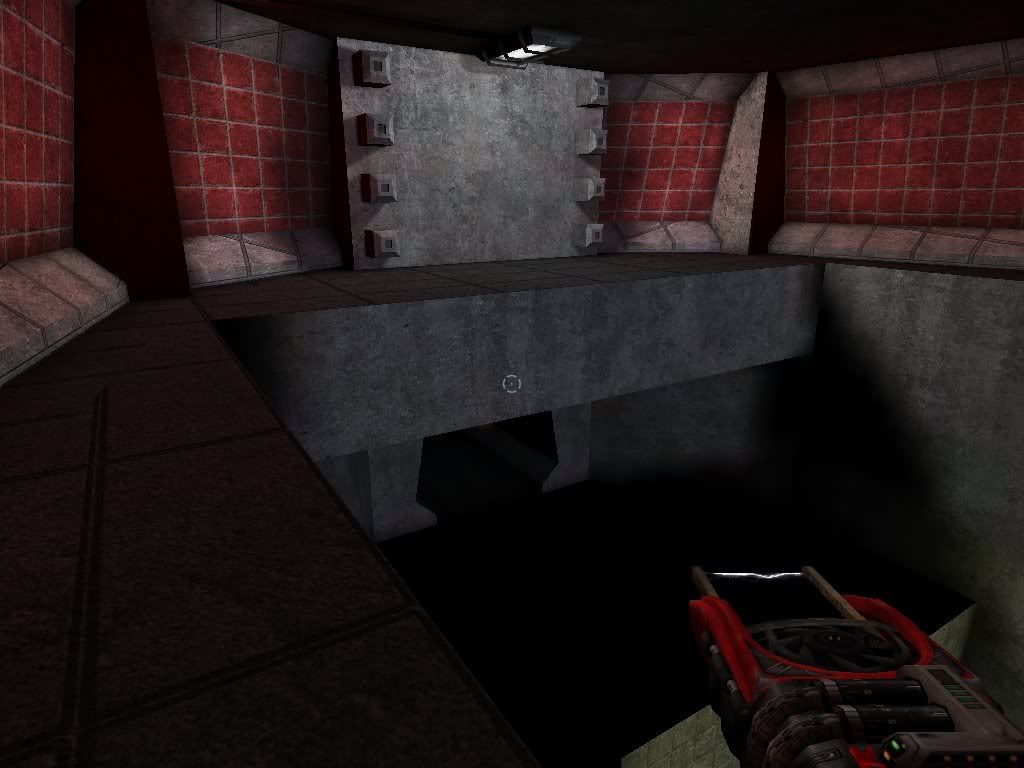
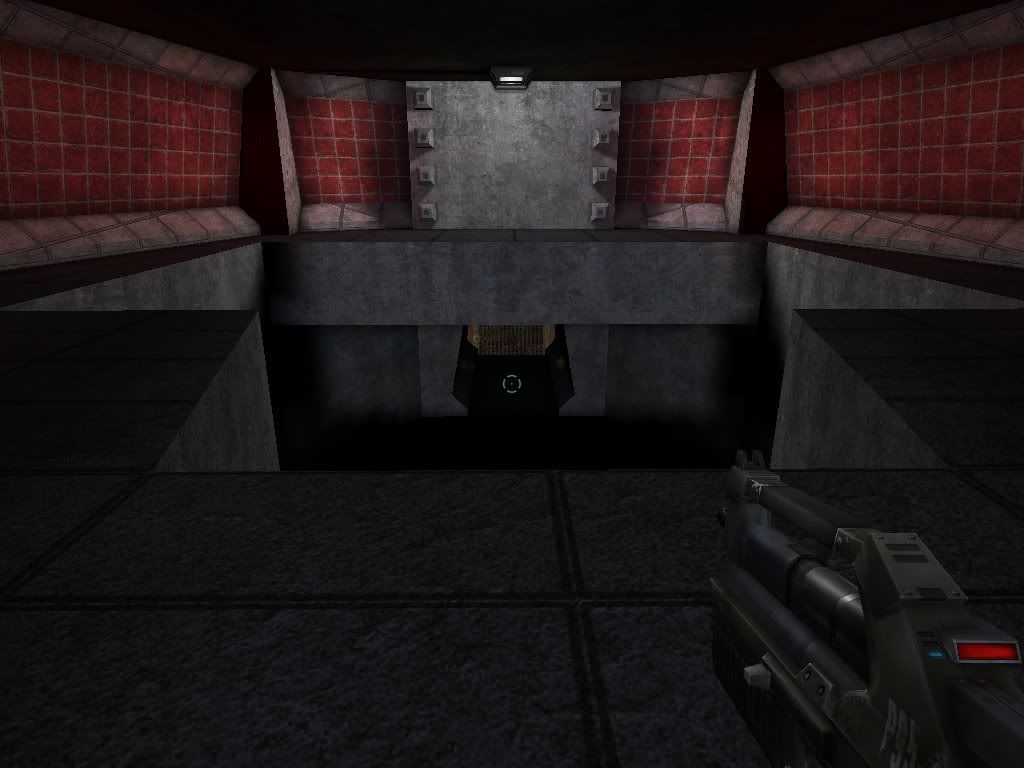
12: Drop room shaft

13: Drop room ceiling
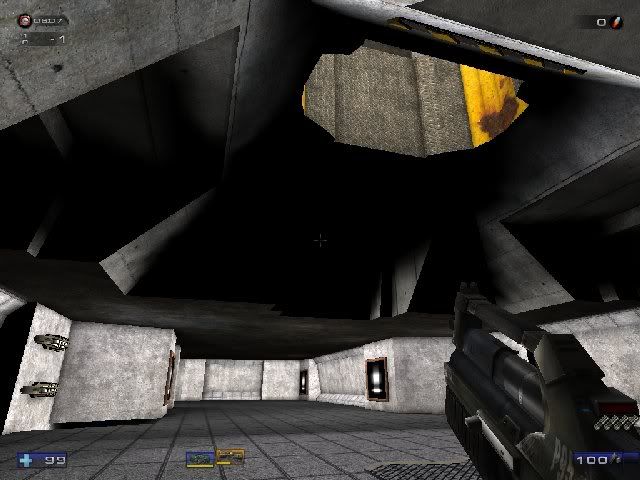
14: Drop room
15: Drop room lower section overlooking the reactor room
16: Drop room secret area
17: Drop room secret area 2
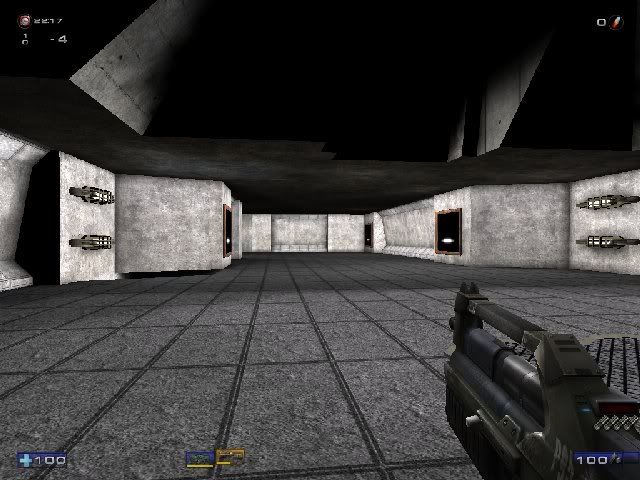
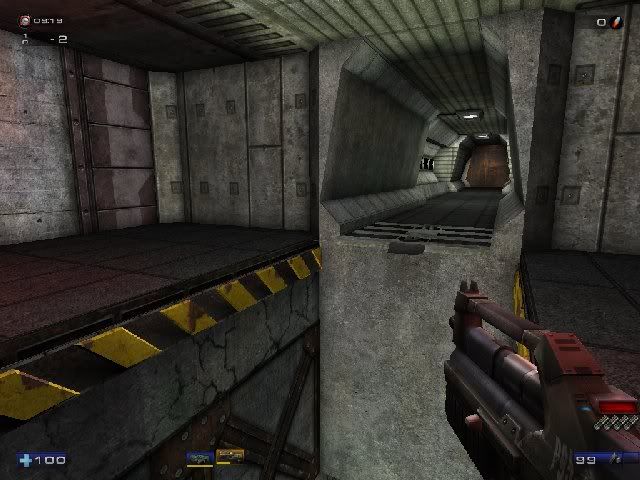
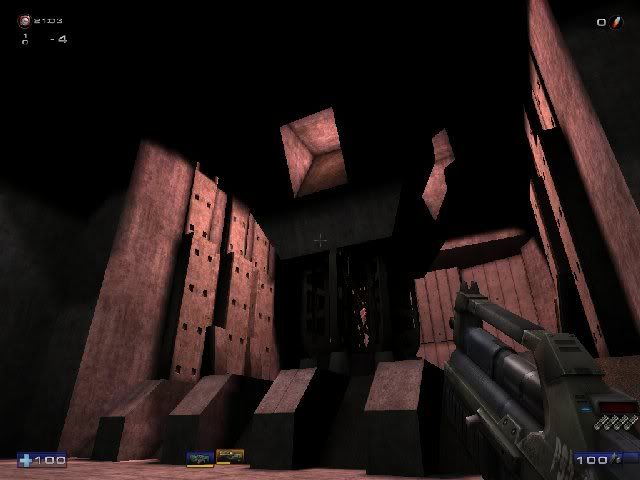
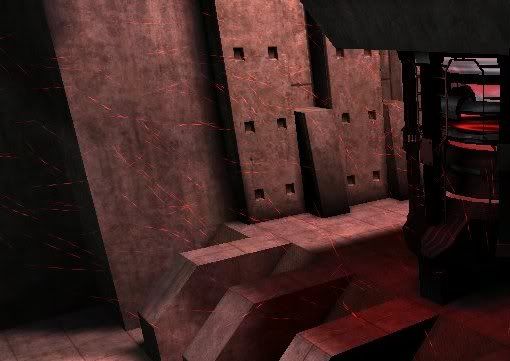
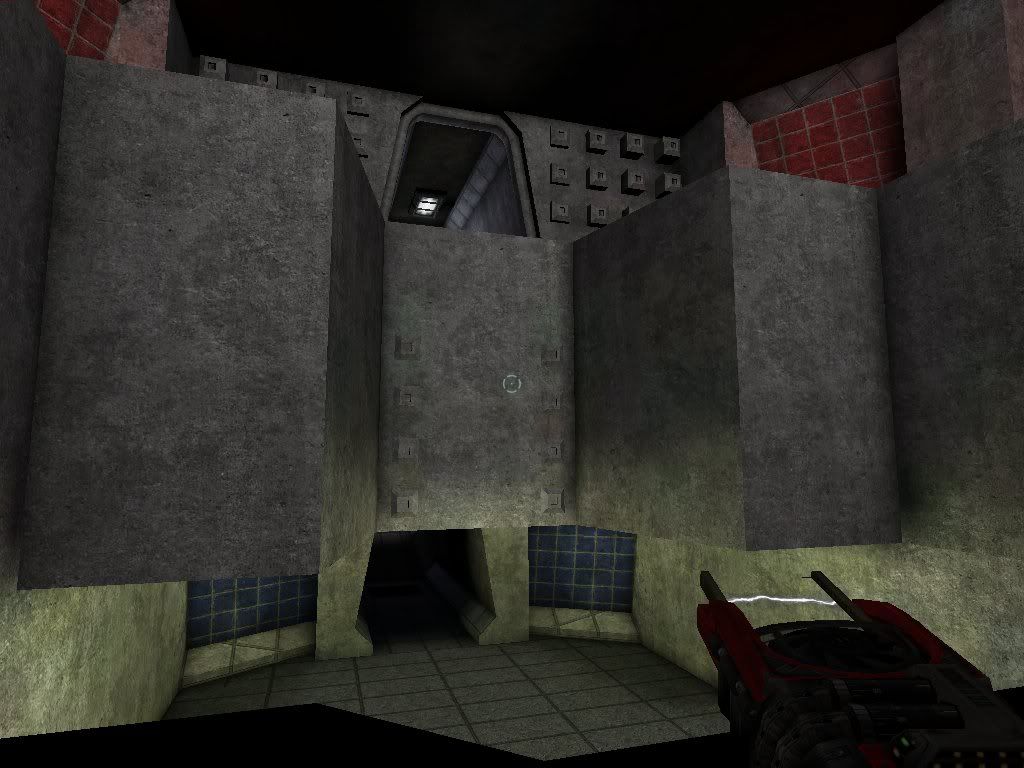
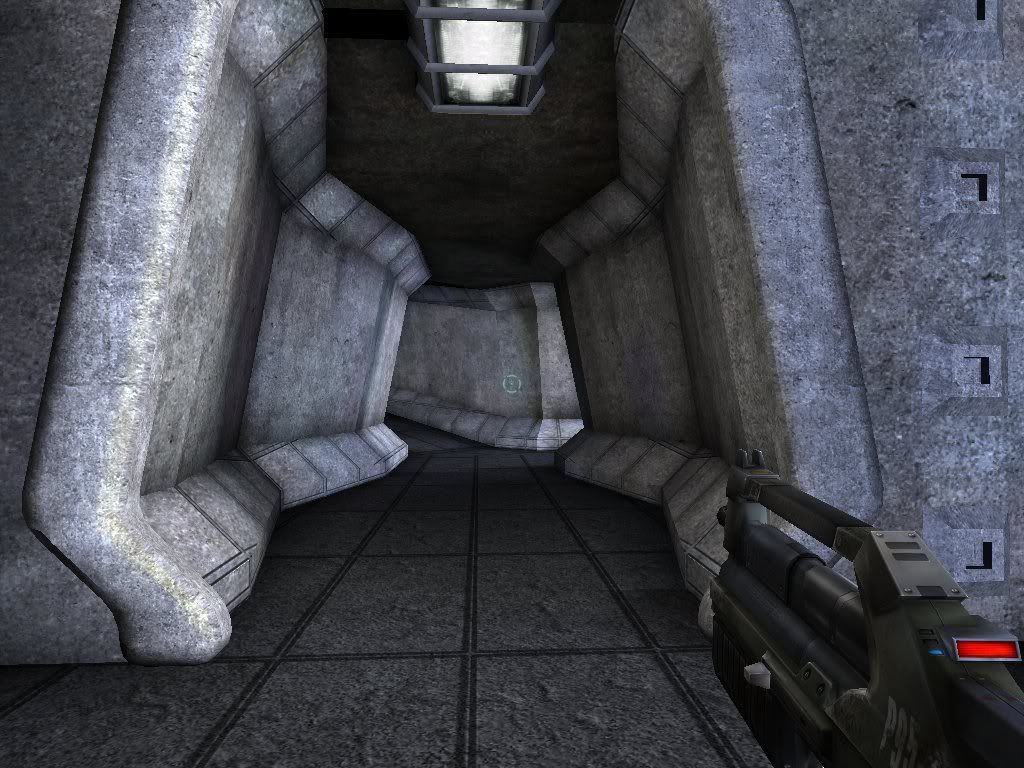
18: Reactor Corridor entrance
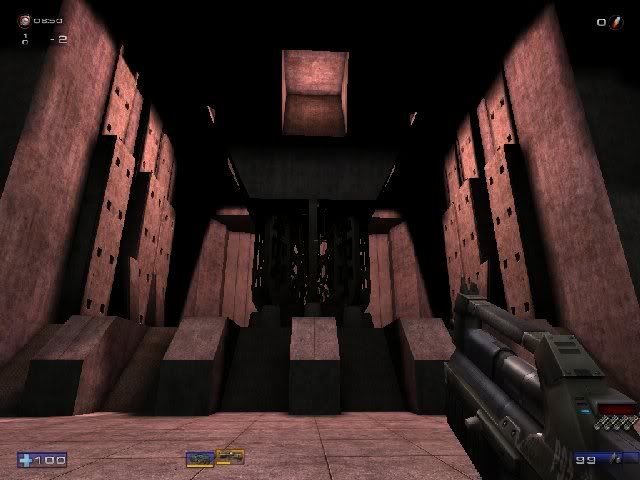
19: Reactor Corridor
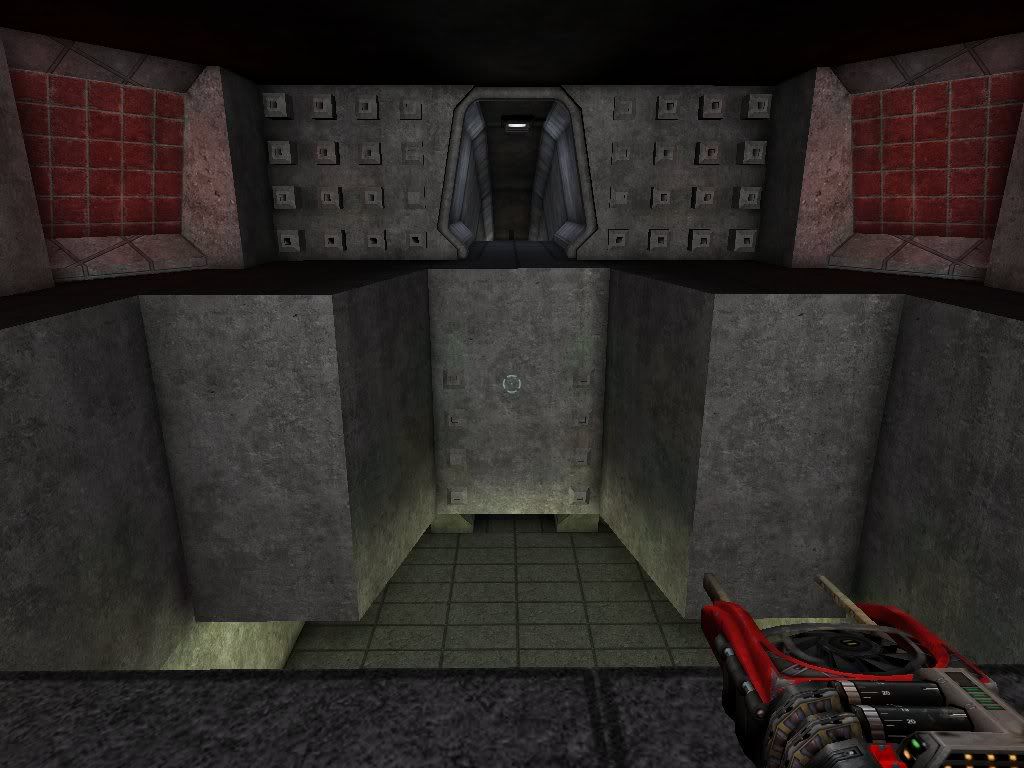
20: Reactor Corridor end
21: Reactor room drop shaft entrance
22: Reactor Corridor looking from end to entrance
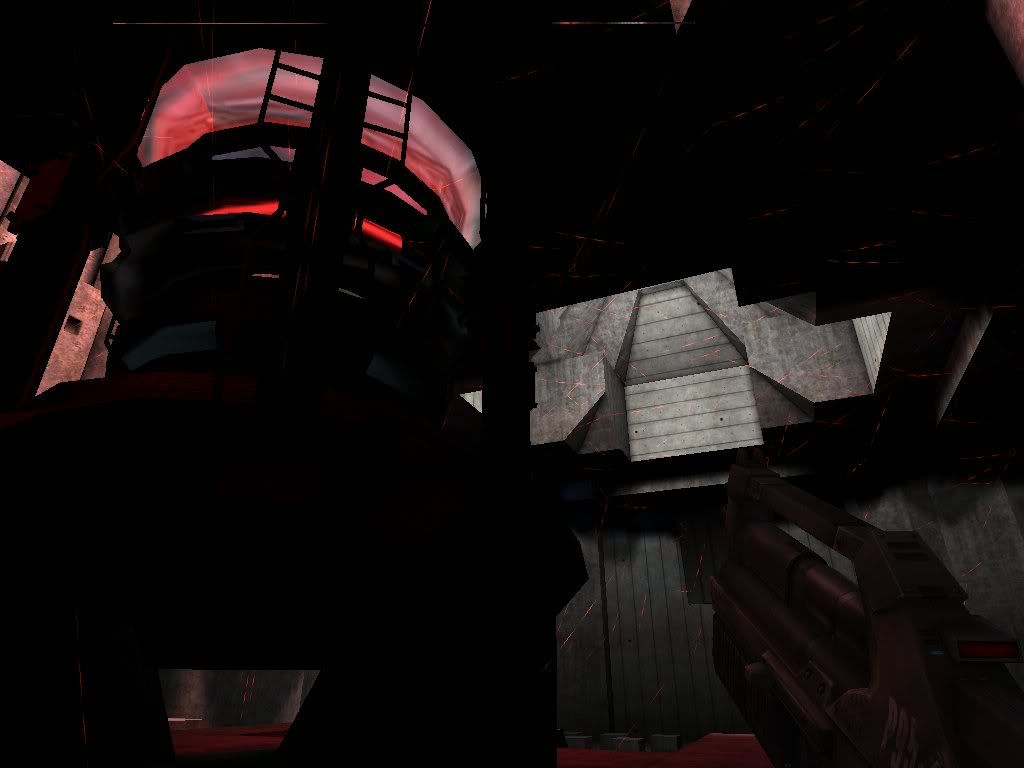
23: Reactor room ceiling
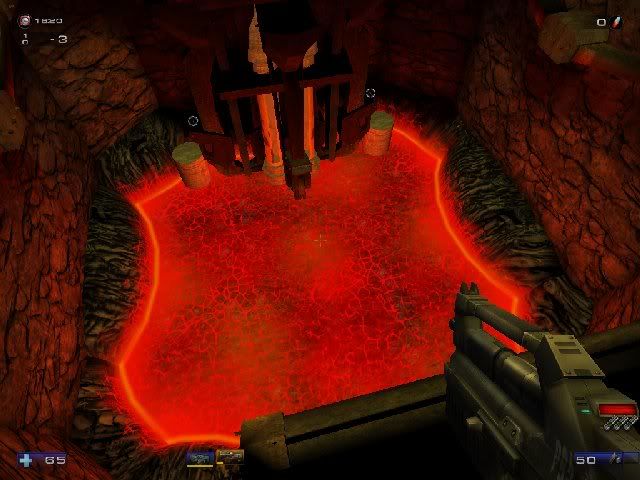
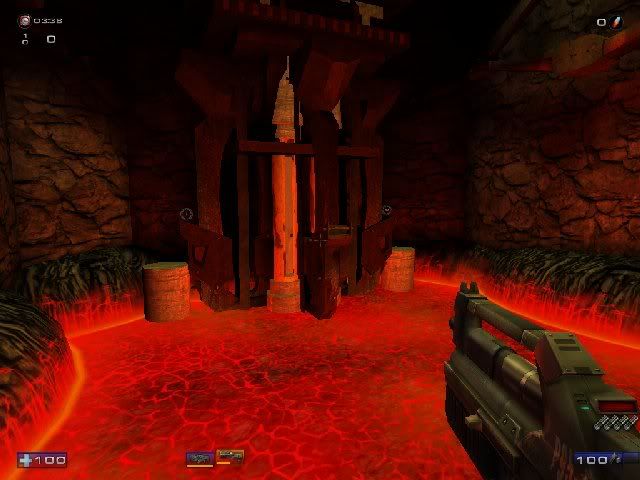
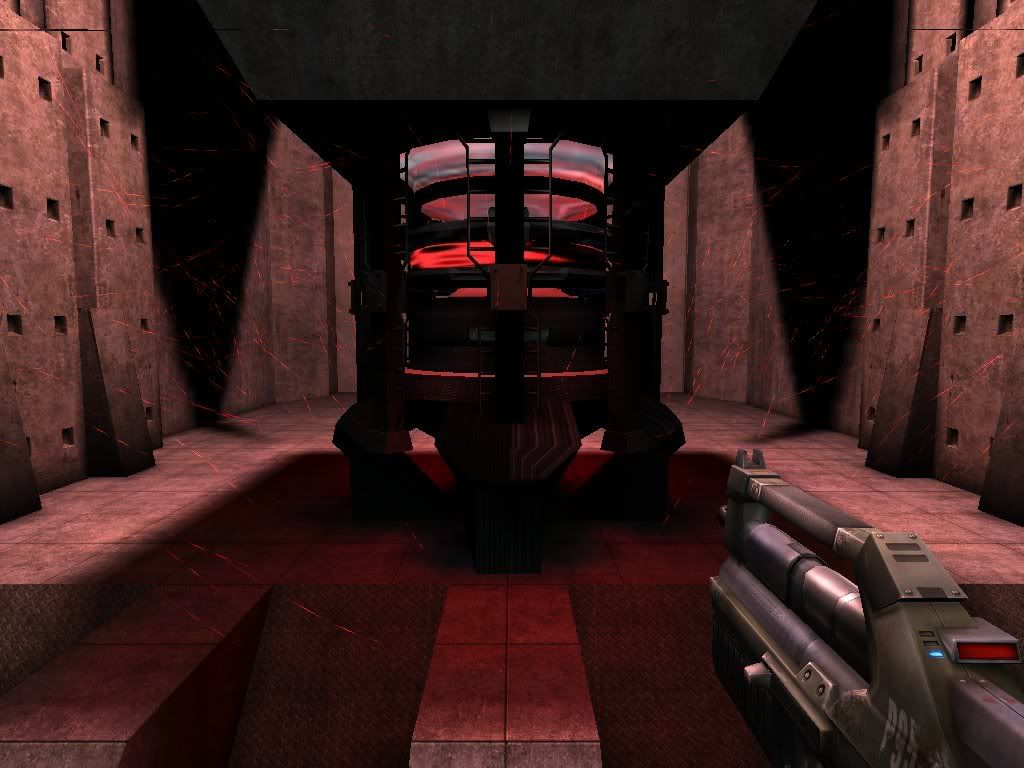
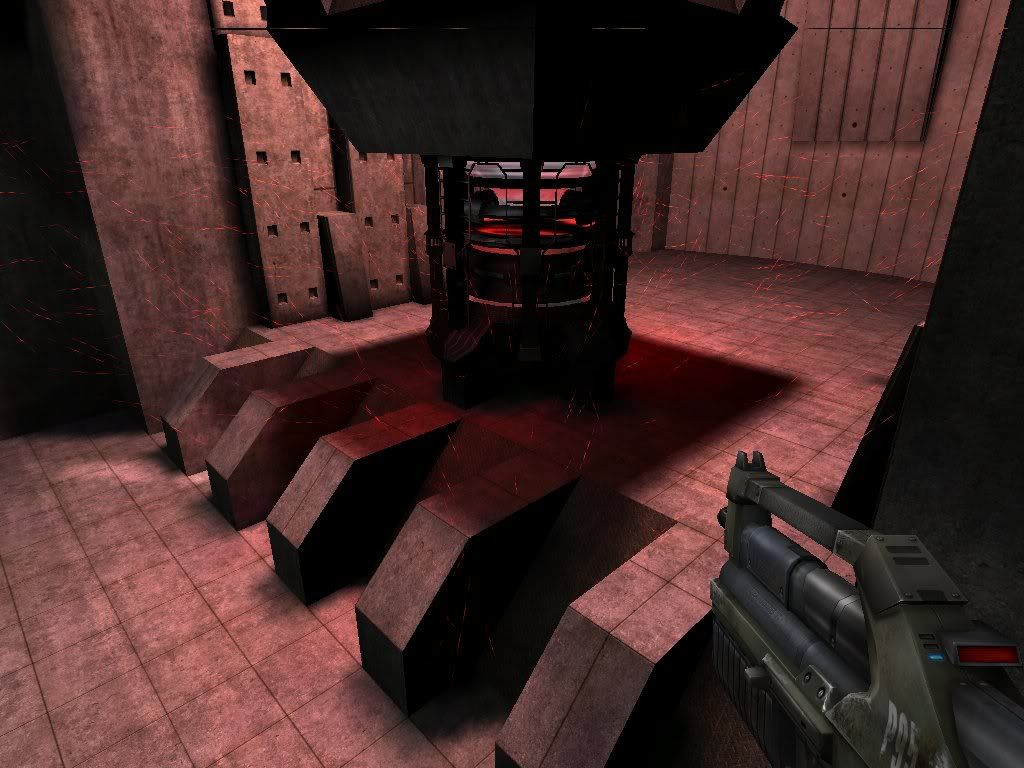
24: The reactor section from angle (Note: the reactor is currently unfinished)
25: Reactor section from the front (Note: the reactor is currently unfinished)
Thanks.
Take care everyone.


