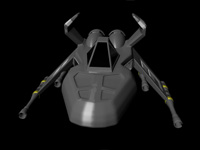
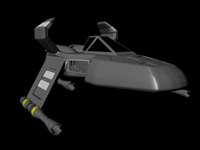
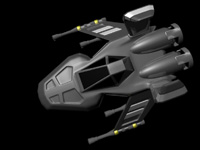
Which one is his?KoolBear wrote:My order of preference to date (pending ferno)
1) Sp3ctre's
...
Would you want a 6-8\" pyro on your desk
Moderators: MetalBeast, Capm
Re:
- Aus-RED-5
- DBB Friend

- Posts: 1604
- Joined: Fri Apr 23, 2004 7:27 am
- Location: Adelaide, South Australia
- Contact:
Re:
Aus-RED-5 wrote:Eagel's is good, but I don't think it's the best when it comes to detail.
I'd like to see Ferno's pyro when it's finished before I place any votes.
So untill then......
What about this pyro?
It's from the Into Cerberon team.
Full of detail and unpainted.
You know it's going to look great straight out the mold!
I'm hoping Ferno's pyro will have lots of detail something like the IC pyro.
- KoolBear
- DBB Co-Founder

- Posts: 10132
- Joined: Thu Nov 05, 1998 12:01 pm
- Location: Houston, TX USA
- Contact:
UPDATE:
After considerable discussion with the various houses that quoted this model for me. And after speaking with Bubbalou at length. Here's the tentative plan.
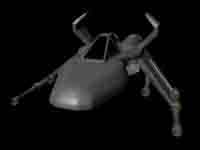
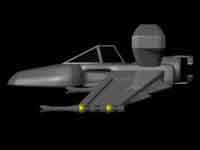
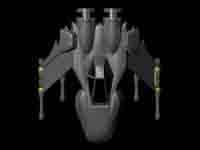
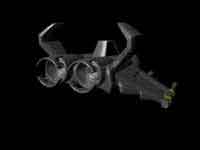
Bubbalou is going to recreate us a model from scratch based on the original Pyro-GX. Not the lo-rez game version but a Hi-Rez version.
This model kit will likely consist of ...
(2) vert stablizers
(2) Lower Wings
(2) Engines
(1) body possibly split in half
?(1) Canopy (the canopy may or maynot be seperate if it is removable we could cast it in a clear material - this is still open)
Bubbalou has said that within a week or two he should be complete.
By spliting the Pyro into individual parts it will be much easier to create the cast/mold and then to process the parts.
More information to follow soon.
Regards,
KB
I'd love to have a model Pyro for my book case. If I can afford one. Will PayPal purchase be possible?
It would also be neat to have some tiny ones for a charm bracelet or earrings. If your casting silicone isn't suitable for Low Tenp casting alloys could you make hard wax castings available?
with some little ones cast from hard casting wax I could cast my own from zinc or lead-free pewter low temp casting alloy. I could do that myself with a blow torch & casting plaster.
Here is a good link to basic pewter casting.
http://www.technologystudent.com/equip1/pewter1.htm
A bit of historical information.
http://www.warehamforge.ca/pewter.html
Some low melting point (fusible) alloys you can use.
http://www.purityalloys.com/Low%20Melti ... Alloys.htm
http://www.technologystudent.com/equip1/pewter1.htm
A bit of historical information.
http://www.warehamforge.ca/pewter.html
Some low melting point (fusible) alloys you can use.
http://www.purityalloys.com/Low%20Melti ... Alloys.htm
- BUBBALOU
- DBB Benefactor

- Posts: 4198
- Joined: Tue Aug 24, 1999 2:01 am
- Location: Dallas Texas USA
- Contact:
dont worry about that this is just to get things in place.. she will have a hard nose with rounded edges...
i will give you something more to look at in the morning before anything further is done after I pull back out the edges.
I want it to look just right before the finer details are added
[edit]
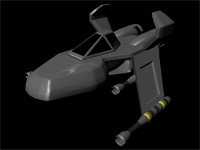
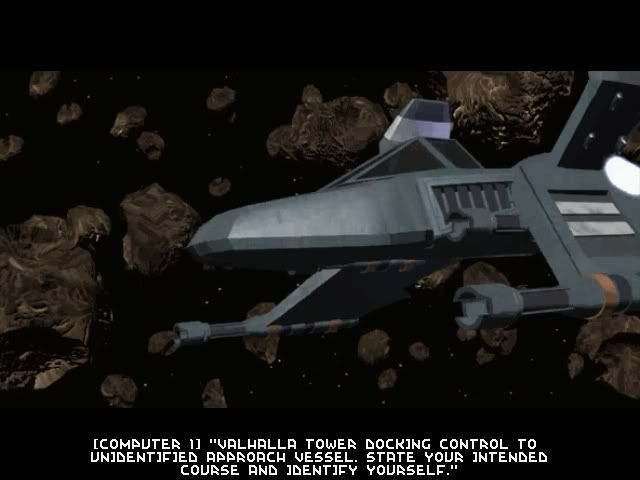
These are references to the Movie - yes it is obvious what needs to be done but at least you have something to go by
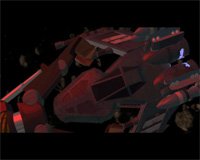
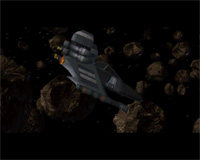
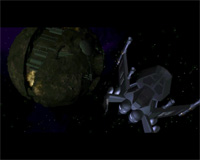
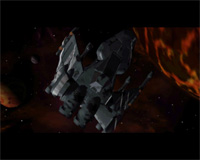
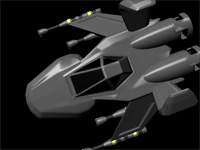
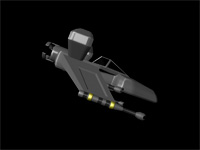
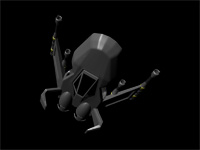
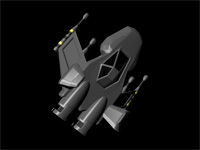
i will give you something more to look at in the morning before anything further is done after I pull back out the edges.
I want it to look just right before the finer details are added
[edit]

These are references to the Movie - yes it is obvious what needs to be done but at least you have something to go by


- []V[]essenjah
- DBB Defender

- Posts: 3512
- Joined: Mon Dec 20, 1999 3:01 am
I'll point out the differences. Bubba, you've probably seen all of these; I'm just trying to help.
TOP VIEW:
1. The wings are too short (width wise. from the ship out).
2. The end lasers are too small in diameter.
3. Inside lasers are too close to the body.
4. Nose is too short.
5. Main body is too long at the back.
6. Engines/Thrusters are too long at the back.
SIDE VIEW
1. Outer and inner lasers are too low
2. Front part of the nose is too thick
3. Front part of the nose, underneath, there is a definite angle forward (away from the nose) before the nose comes back towards the body.
4. The rear part of the main side wings (that have the lasers on them) have a point that sticks out, and the rear portions are not straight - there's a slight curve.
OVERALL
1. The nose needs definite attention. It's all about the nose.
3. The engines and the rear part of the main body stick out too far
4. Adding the point to the rear part of the wings will add character that it needs.
5. Adding the slight curve to the rear part of the wings will add character too.
- BUBBALOU
- DBB Benefactor

- Posts: 4198
- Joined: Tue Aug 24, 1999 2:01 am
- Location: Dallas Texas USA
- Contact:
yes a little tweeking is required, by far that is not finished. Parts are also missing like the main wing flares, canopy bracket, laser cooling fins, missile brackets, yada yada yada.... In the next day or so it will match those pictures, and the base will be done. Then we'll bring it up to date as in not to look like a lowpoly model from 1995 with details to the body, but not in a way to distract from the base. As in seams, panels, panel textures, rivets, grates, etc etc if you catch my drift...
all input is greatly appreciated. Overall this will be pieced out just like a styrene/resin model kit when done.
Was pretty funny when I took the intro movie and extracted it using a MVE~>AVI tool became a 1 Gig video ugg
Kepp you posted should have more tweeks done by friday evening. Most of the object are in their basic forms and not edited
I seem to have a better workout dodging your stupidity than attempting to grasp the weight of your intelligence.
- BUBBALOU
- DBB Benefactor

- Posts: 4198
- Joined: Tue Aug 24, 1999 2:01 am
- Location: Dallas Texas USA
- Contact:
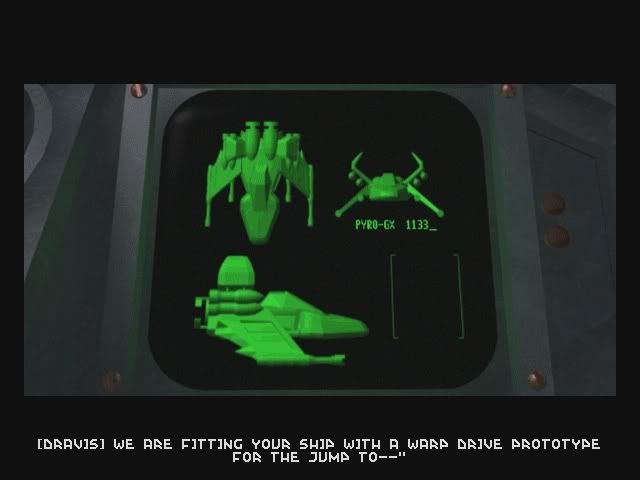
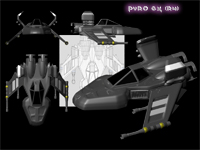
Look carefully at the MFD in green Duper posted. It actually has 2 different pyro's in it.. The top and front is actually the earlier version and the side view is the one from the cinematic
Just a little FYI from Parallax
Just a little FYI from Parallax
I seem to have a better workout dodging your stupidity than attempting to grasp the weight of your intelligence.
- BUBBALOU
- DBB Benefactor

- Posts: 4198
- Joined: Tue Aug 24, 1999 2:01 am
- Location: Dallas Texas USA
- Contact:
Re:
Slicing it up is the last thing to do, that is the easy part!KoolBear wrote:Bubbalou,
Did you forget we wanted to "break away" some of the parts? This looks pretty solid
I seem to have a better workout dodging your stupidity than attempting to grasp the weight of your intelligence.
- BUBBALOU
- DBB Benefactor

- Posts: 4198
- Joined: Tue Aug 24, 1999 2:01 am
- Location: Dallas Texas USA
- Contact:
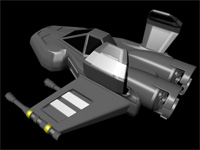
Update
White BG Version
Next is the bottom, and with no real reference, except some garbage they threw on it in the D3 intro, I will have to be a little creative

White BG Version
Next is the bottom, and with no real reference, except some garbage they threw on it in the D3 intro, I will have to be a little creative
Re:
X2!Aus-RED-5 wrote:Yep, I'd buy that!
Incredible.
- BUBBALOU
- DBB Benefactor

- Posts: 4198
- Joined: Tue Aug 24, 1999 2:01 am
- Location: Dallas Texas USA
- Contact:
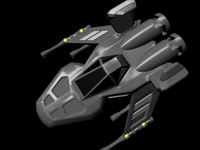
just a few details and tweeks left before she gets chopped up into little pieces.
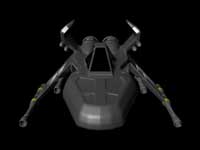
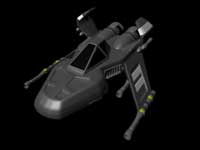
Large Version of above
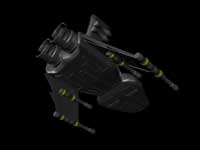
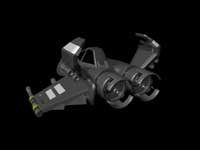
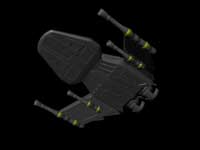
Should I do the inside of the cockpit?


Large Version of above


Should I do the inside of the cockpit?


